And Why It Matters for Garment Fit
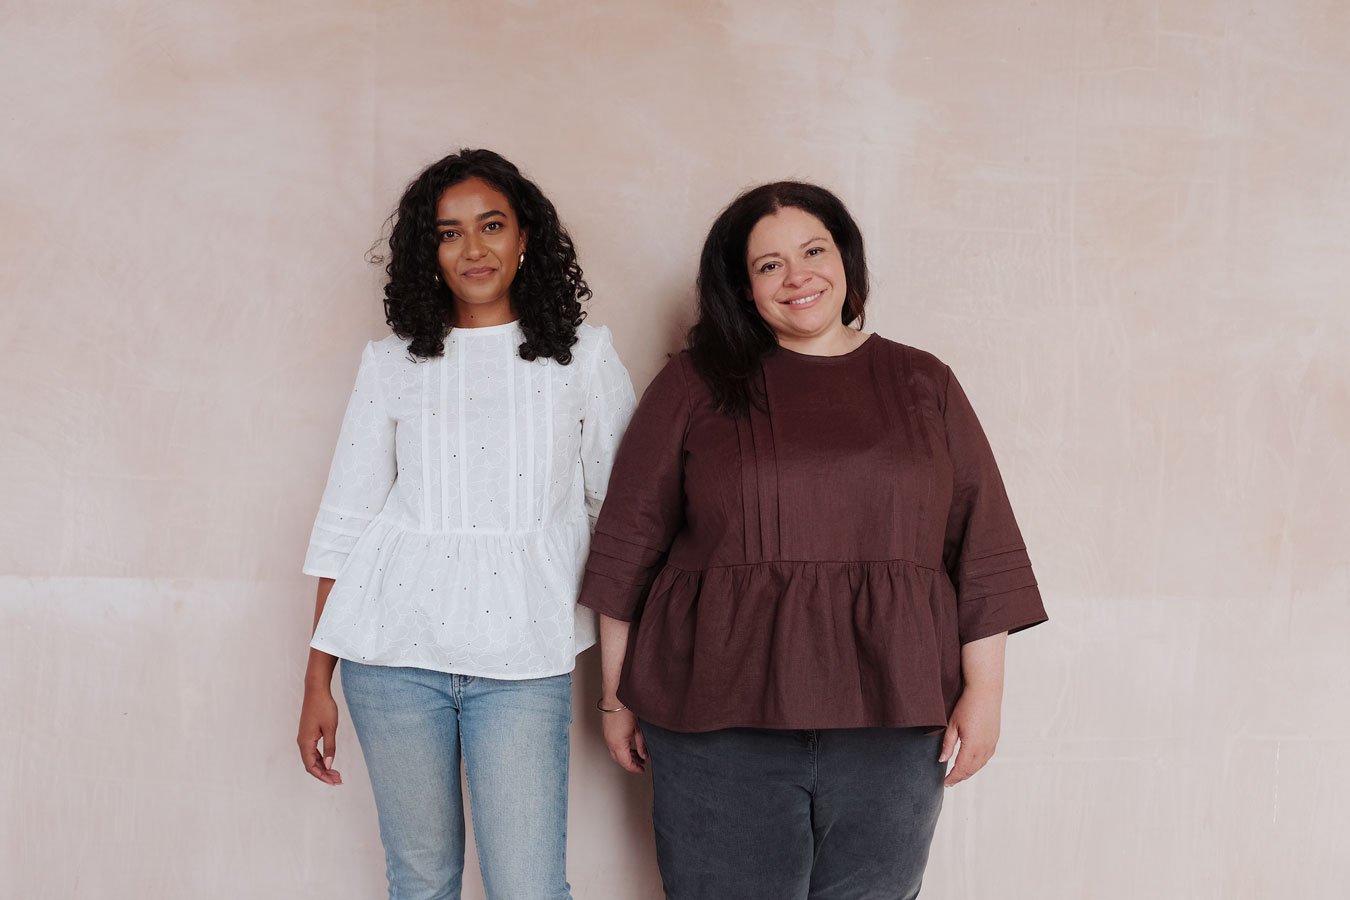
If you’ve ever looked at my sewing patterns, you’ll notice that I use two separate size ranges: UK 4-18 and UK 16-32. I’m not the only brand that does this. While some brands offer a single size range that covers all sizes, many choose to split their sizing into two brackets, and there are very good reasons for that.
Today, I want to explain why I choose to use two size ranges, what that actually means from a pattern drafting and grading perspective, and why this approach matters so much for garment fit across a wide range of bodies.
A quick note before I get into this
This is my own personal (and professional) view on sizing and pattern development. It’s not to say that other methods are wrong, or that brands who work differently are doing things incorrectly. This is simply the method I believe works best, and the approach I would recommend if someone asked for my honest opinion.
With that said, let’s get into it.
What Is Grading, Really?
Before we talk about size ranges, it’s important to understand what grading actually is. Grading is the method of increasing or decreasing sizes within a size range. It’s part of the technical design side of garment making, and while every pattern grader can pattern draft, not every pattern drafter can grade.
Grading works by applying a formula (known as a grade rule) to a pattern. That formula is based entirely on a size chart, either supplied by the client or created specifically for the brand. The quality of the grading is only as good as the size chart behind it. Not all size charts are created equal, and this is where many grading and fit issues begin.
By the time a pattern reaches a grader, it should already have been sampled and fitted in its base size. The grader isn’t responsible for fit in the same way the pattern drafter or designer is, but any small drafting or fitting issue in the base pattern will be amplified once the pattern is graded across a wide size range.
The Main Approaches to Drafting a Wide Size Range
When brands want to offer a wide size range, there are generally three approaches you’ll see. None of these methods are inherently “wrong”, but some produce better results than others depending on how they’re executed.
Option 1: One Size Range, Graded From a Single Base Size
This is the most common approach in indie patterns. A brand drafts a single base size (usually around a UK 8–10), then grades up and down to create the full size range. This method assumes that bodies increase evenly and proportionally across all sizes.
It’s fast and efficient, but it isn’t always ideal for real bodies, especially as sizes increase. That said, this method can work well if the size chart is thoughtfully developed. If a designer’s size chart assumes consistent, even growth across every size, and the grade rules reflect that accurately, then technically the pattern is sound.
In these cases, the issue usually isn’t the grading itself, it’s the size chart and the assumptions about body proportion that underpin it.
Option 2: Two Separate Size Ranges With Overlapping Sizes (My Preferred Method)
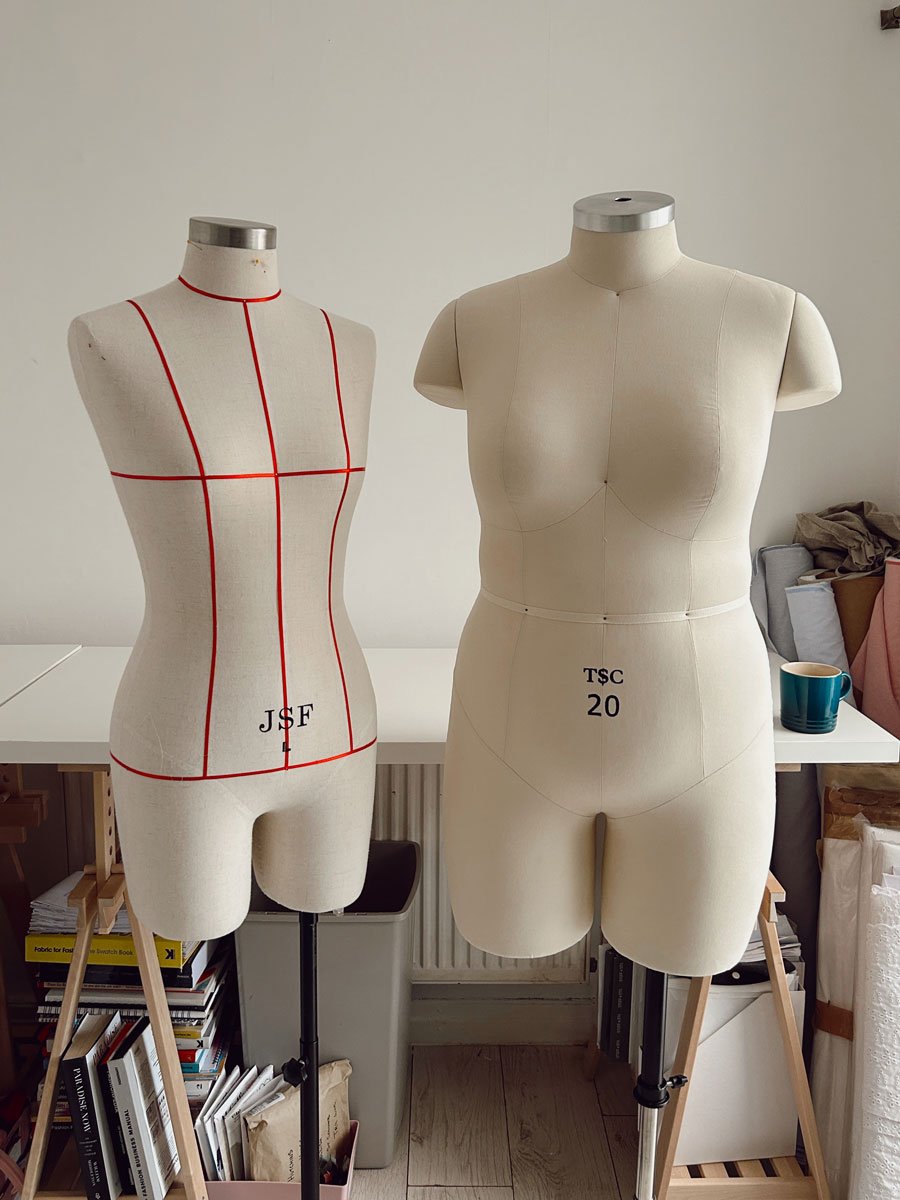
This is the approach I use. I work with two separate size ranges:
- UK 4–18, drafted from a size 10 block
- UK 16–32, drafted from a size 22 block
Each range has its own base block and its own grading rules. One of the biggest differences between these ranges is cup size, and to be clear, I’m talking about dressmaking cup size, not bra size (I’ll go into that properly in a future blog post).
When developing my sizing, I spent a long time researching available data and asking the community questions. I found that data for smaller size ranges was relatively easy to access, but accurate data for larger sizes was much harder to find. I had to dig much deeper to create a size chart I felt confident in.
One of the most consistent differences I found was that the upper size bracket did not align well with a traditional B-cup assumption. Instead, proportions were much more consistent with a D-cup or higher.
That alone justified separate ranges, but there are many other practical reasons too. For example:
In my 4-18 range, the upper arm measurement at size 18 is 30.4 cm.
In my 16-32 range, the upper arm measurement at size 18 is 37.3 cm.
If I continued grading up from the smaller range, I wouldn’t reach 37 cm even by the time I got to a size 32. This is a clear example of how linear grading simply doesn’t reflect real body changes, and how fit would suffer as a result.
Design decisions also differ slightly between ranges. A loose-fit shirt in the 4-18 range with a B-cup may not need a bust dart. In the 16-32 range, I may add a bust dart to accommodate a larger cup size. This isn’t a design change for aesthetic reasons, it’s purely about fit, while keeping the same silhouette and intention. This kind of adjustment simply isn’t possible when you’re grading evenly across one large range.
Option 3: One Size Range With a “Break Size”
This approach sits somewhere in the middle. A brand might offer one full range (for example, UK 4-32), but change the grade rules partway through. For instance, bust increments might increase from 5cm to 7.5cm starting at a size 18, with other measurements adjusting accordingly.
This can work in some cases, but it still isn’t the same as redrafting for a different body type. The pattern is still expanding outward from the original base size, and distortion can still occur at the extremes of the range.
How Straight-Size and Plus-Size Drafting Actually Differ
By now, you can probably see why I choose to work with two size ranges. Many sewists assume grading is simply “making a pattern bigger”, but in reality it’s a mathematical system based on proportion. When proportional differences aren’t properly accounted for, fit issues are almost inevitable.
Some of the most common problems i've come across with linear grading include:
- Shoulder width not increasing at the same rate as circumference
- Bust shape changing, not just bust volume
- Increased tummy projection without corresponding ribcage changes
- Armholes changing shape, not just size
- Fitted garments requiring more panels or shaping in larger sizes
If I were to grade a size 10 block up to a size 22 instead of redrafting that size 22, I’d be assuming the wearer has the same proportions, just scaled up. That’s simply not how bodies work. When patterns are graded too far from their original block, fit distortion becomes unavoidable. This is why plus-size sewists often feel like they’re sewing a slightly different pattern to the straight-size version, because technically, they are.
Using two size ranges doesn’t mean the designs are different. The goal is actually the opposite, to maintain the same design, silhouette, and intention, but draft it properly for a different set of proportions so everyone gets a better-fitting garment.
Sizing is a complex topic, and no system is ever going to be perfect, but I firmly believe that taking the time to draft for different proportions leads to better results for more people. Two size ranges allow me to approach fit more thoughtfully, especially where straight-size and plus-size bodies naturally differ. For me, it’s about respect for the body wearing the garment, not just efficiency in production.
Thank you for taking the time to read and engage with this side of pattern making. If you ever have questions about sizing or fit, I’m always happy to talk about it!
Tash x
PS - Want to learn more about pattern drafting and fit? I am working on a full pattern drafting course where I will be sharing all sorts of educational content just like this! Sign up to my mailing list below to be the first to hear when it goes live!