

Scrunchies are so popular at the moment, and I find myself sewing up so many every day, mainly for my clothing brand NH by Hand, but these are one of the things i’m always asked how to sew!
Now there are a few different methods to sewing scrunchies, and honestly any way is completely fine, but i’m going to show you the method I use. I personally use this method because it has the least amount of visible stitching, and it’s just the way that I personally prefer.
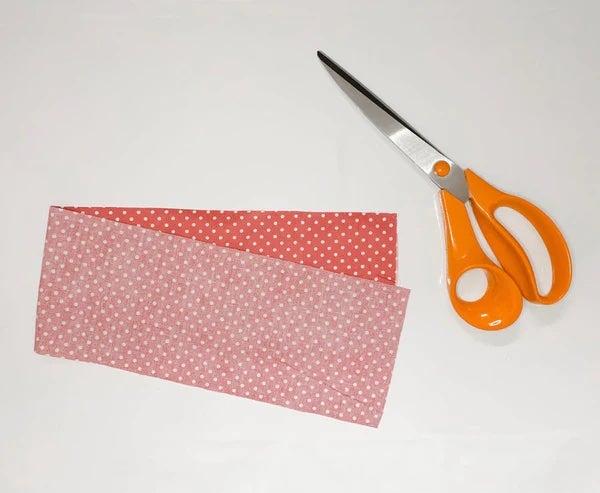
You don’t need a pattern for a scrunchie, well, not really! You just need a rectangle piece of fabric cut to size and a bit of elastic. To make your pattern, draw a rectangle 26cm in length, and 12cm in width. Mark one of the shorter edges as your “fold”. That’s it, there’s your pattern! Now, You can adjust this however you want. Want a skinny scrunchie? No problem, make your width smaller. Want more fabric in your scrunchie so that it looks thicker in the hair when worn? No problem, add more fabric into the length and keep your elastic cut to the same length. (Only change the length of your elastic if you have thicker hair, then cut your elastic slightly longer.)
Just cut out one of these rectangles, on the fold and you’re good to go.
Finally, I cut my elastic to 20cm. Now, let’s get onto the instructions!
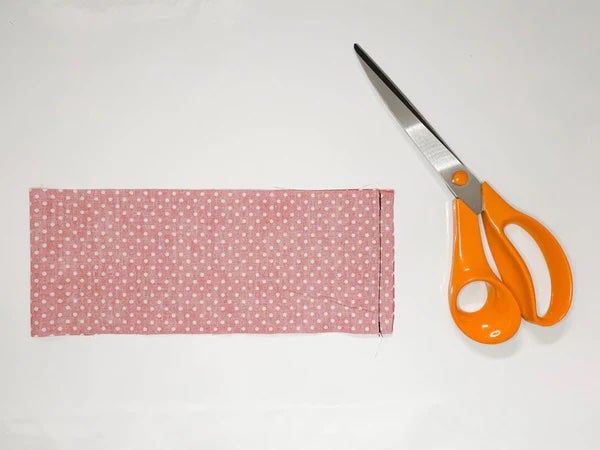
1. Firstly, cut out your rectangular piece of fabric and fold it in half with right sides of the fabric facing and sew together the shorter ends of the rectangle with a 1cm seam allowance.
2. Next press open your seam. (This is optional, but by pressing this open you eliminate too much bulk!) Then with the seam facing you, fold inwards the top layer of fabric along the top and bottom edge.


3. This can be a little fiddly, so work slow, but you now want to match up your two raw edges from the bottom layer of fabric, with right sides facing, sandwiching your previously folded layers in between. Pin this in place and you should now have a funny looking tube with some fabric squashed up in the middle!
4. We are now going to place the scrunchie into the sewing machine, and start to sew, using a 1cm seam allowance along the edge of the two layers you just pinned together. Be careful when sewing these edges together that you don’t stitch the inside layers as well, you’ll see why in a minute!
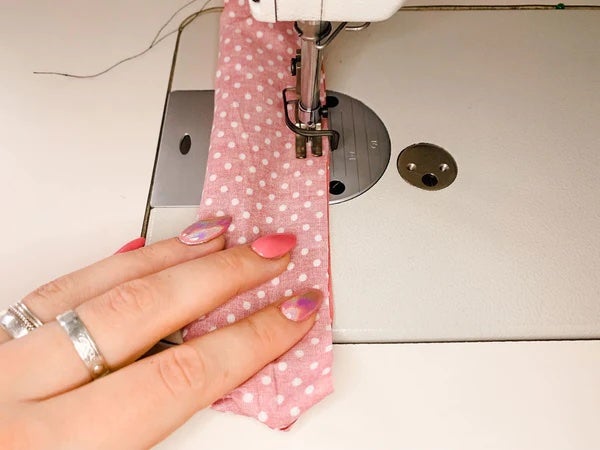

5. Once you’ve sewn a few cm, start to gently pull the inside layers of your fabric out through the bottom, a small amount at a time.
You should be pulling a small amount through, stitching a couple of cm, and repeating until you get near the end, all while trying not to stitch the inside layers. (If you stitch the inside layers you wont be able to pull it through!)
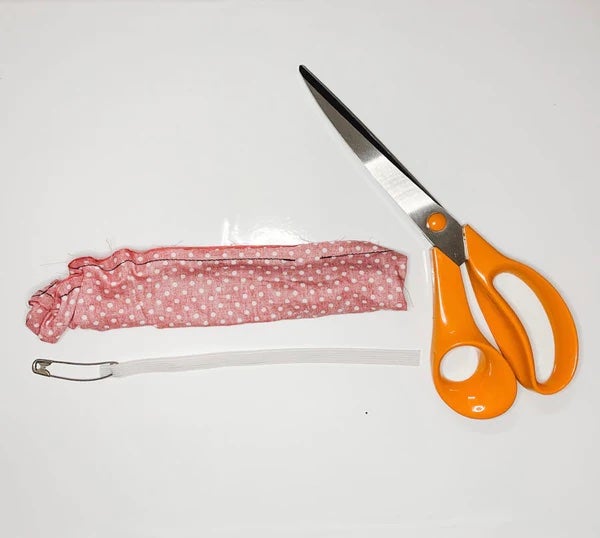
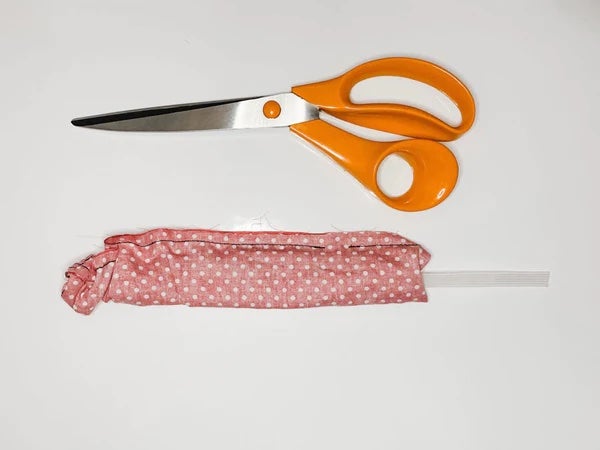
6. Once you start getting close to the end, leave a small gap of roughly 2cm and backstitch to finish the seam. Then cut your elastic to length and thread this through the open end of the scrunchie all the way through to the other open end. I normally attach a safety pin to the end of the elastic as it makes it much easier to thread through! Be careful here not to pull the elastic the entire way through, you want a small amount of elastic left on either end!
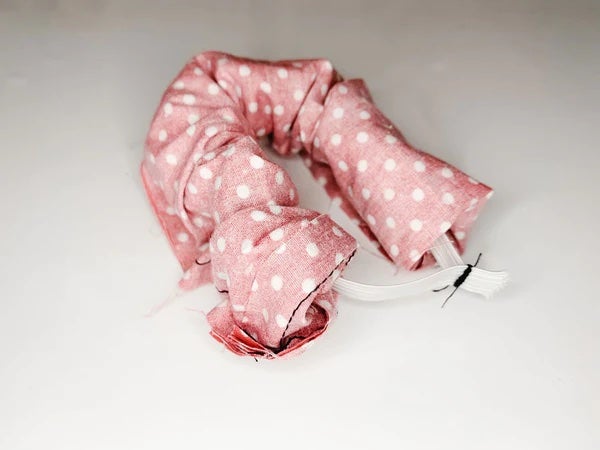
7. Being careful not to twist your elastic, place the two ends together and stitch together using a 1cm seam allowance. You can either backstitch and stitch over the same seam a few times, or sew another seam just next to the last one to make it more secure!
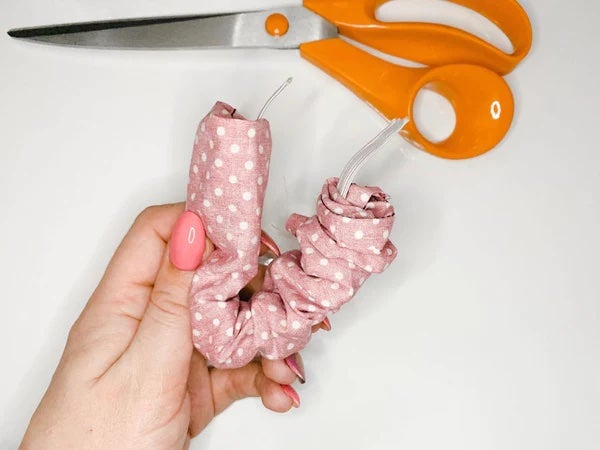
8. Now, find that small hole you left previously, and pull the entire inside of the scrunchie out through this hole, both fabric and elastic!

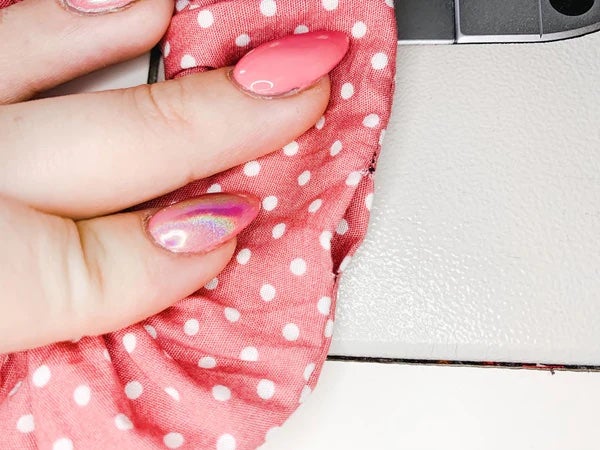
9. Once you’ve done this your scrunchie is basically done, all you need to do is finish the tiny hole you left! You can either topstitch this closed on your machine close to the edge or, hand stitch the edge closed for a more invisible finish and that’s it! You made a scrunchie! It all seems very complicated but it get’s easier and quicker the more you make!

Be sure to let me know how you get on, and feel free to tag me in your makes on instagram @nhpatterns. I’d love to see what you make!
